Monday 28 September 2015

Birds and Sky

Whittling away at these two things today. Paint a bird,... stitch a full bobbin on the frame, then switch.
There is less than a metre to stitch for the sky and only a few more birds to "paint"

It's hard to get a good shot to show the colour progression. Just wait till it's complete.


  And my growing Flock!


Sunday 27 September 2015

Last Days of Summer?

I was fortunate to spend the weekend up in Thornbury, on Lake Huron, where my step daughter and her husband have a vacation home. The vistas and woods in that area have been an endless source of inspiration through the years. Who could want for ideas when you wake up to this scene. (Not a bad result with my little Cannon powershot. PS it's 7:00 AM and dead quiet. Lovely.)


 I could get REALLY used to this but I'd probably get really lazy too.


They are avid sports enthusiasts and are currently training for an Ironman. I get tired thinking of it.


This is my morning speed. COFFEE and slow handwork. Yes, that IS a DEAR JANE block. I am still at it. Less than 100 to go!!  On the way home.....the markets!


While the autumn colour hasn't arrived, the apples have. And too, the gourds and fall vegetables.


Thornbury is at the end of the Beaver Valley. Hard to find a great shot without trespassing on all the ski resorts or private playgrounds.


Thursday 24 September 2015

Ideas for my Workshop

If there is one thing I've noticed about dedicated workshops, people want to come away with a product, not necessarily finished, but something that showcases what they did all day. I imagine my friends are no different.
I spent a number of hours trying to decide how I could facilitate that urge with the very narrow focus of this workshop. IE Trees. ( See August) I rather suspect we won't get past evergreens, though I'm always prepared to go farther.

I'm providing a number of samples of stabilizers to play with, so I thought I may as well provide a selection of background on which they can put their new skills to work.
But a branch or a tree isn't really something you would put on a wall.....that is unless there was something sitting on YOUR branch. So today I decided to make, and worked out a quick method to provide each of my friends with a bird to place on their branch.
( And in the spirit of fairness,..... I'm making 9 of the same bird.) No fighting ladies!
These are rather lightweight but they will serve my purpose.


I wanted a bird that would stand out on several backgrounds. The Chickadee won.


Ain't he a cutie?

Patience in the Garden

Blue is my favourite colour and its hard to come by in my area. But I found this guy at an Arboretum sale one year.


Okay not really blue but in these last days of summer it never fails. This is Aconite, otherwise known as Monkshood. Unfortunately for most gardens it is VERY poisonous. (All those Agatha Christie novels!)


The flowers look like the medieval cowls and hoods worn by the monks of the Inquisition. As the rose and the mums are finishing this beuaty will bloom for almost another month, or until a first early frost.


It is a substantial plant but sits in the background till everything else begins to die. Rather ironic I'd say. I have two on either side of the garden and love watching them come into their own as the cool weather begins to close in.
I DO wait all year for them. They need no coddling as the stems are quite stout. I've only ever seen it once before and it was in a historical herbal garden.


Wednesday 23 September 2015

Stitching Sky

Not dyeing this time but stitching.
Rows and row of close stitches to make an interesting sky.


Sept 24 - added pink


This is cheap, pale blue broadcloth, with close to 3 hours + 2 hr work.
Blue, pale blue, white, pale yellow and lime green. No line is more than 1/4 inch from the other.

I wasted the first hour (and the first dew inches) "tuning" my machine. It only likes to straight track to the right. It eats the thread going to the left.....! It won. I promised it I would only stitch going from the left side to the right. Sigh!

I have used this fabric several times and knew I would make more. It will probably take around a week. I can't work on it continuously. I've got almost 3 yds of blue on the machine.
Last time I made this, I used batting and canvas but it was clumsy to work with afterwards. This time I only used batting....well not really. I found a sale on moving blankets, pressed fibre with some mixed colour. It was really cheap. ( Notice a theme here? ) I certainly wouldn't consider using it in a quilt but for this purpose? We'll see.

Here are some samples of where I used it before.


Tuesday 22 September 2015

Finishing the Rain

I"m working this afternoon so I thought I'd take the time this morning to finish my "rain".

This was my own painted fabric and I really liked the result of the thread work.
But I hadn't used a heavy backing as a nod to showing my stitching on the back and I ran into trouble.
The edges of this piece were so wowed it wouldn't hang properly.
I knew I had to remount it but couldn't decide how. I had no material that came anywhere near the turquoise in the material. So I went for a black burlap print.
Careful stitching gathered the offensive edges and now it hangs straight.
I LOVE it on my "Portuguese Blue" wall.!


But again there is no stitching on the backside. Sigh.....


Sunday 20 September 2015

Takakkaw Falls 6 - Final


I enjoy doing this scene. I love the rock face and the water is so malleable and dynamic. Though it worked out, I was unsure about all the brown but I had NO grey rock materials in my stash. I do know how to fix that!

A few passes over the trees at the base, primarily to anchor the material. This piece of green forest was one of the best I have ever come across. I added a small bit of the top most material over the sharp edge of the rock at the top left and anchored it with trees.
After cutting out the netting on the right side of the falls I only added a minor amount of brown shadowing in the upper portions on both sides, to give a little more dynamics to the rock face.
That's it. A small dark grey binding and its ready to go.

Saturday 19 September 2015

Detail - Takakkaw Falls

There is another whole day of work on this but I tackled some of the important areas first.

The trees at the bottom needed to be anchored. The whole of the forest fabric needs detailing. It's only done at the edge to make it permanent. The organza water is forced behind and between the trees.


The cracks and shadows MAY be finished. Not really happy with the rectangular shadow. Working on this area opened another Pandora's box as to how much detail needs to be in the rest of the rock. I added two more faults (cut sections), before I realized I didn't actually need to cut the material. I can probably just use black thread.. I'll think about that one.


The top edge was anchored with tiny trees or with a blind stitch in mono filament. And the sky was completed.


Trees are straightforward. The rock is not. 
11:00PM - That heavy shadow bothered me so much I cut away half the netting. This looks much better and also shows me how to finish the rest of the cliff face.


Using Cheater Fabric

I really shouldn't be so negative re-using cheater fabric. There are times when it's perfect.
This is not thread painting, but the fabric will be finished with "sketching".

If you're not familiar with the term it refers to all those wonderful prints of all things from nature: trees, flowers, sky, water, rock, animals, landscapes, mountains, cities, buildings houses, anything you can see outside your window.

I was gifted this fabulous FQ. Alas, only a FQ. I will have to hunt it down and get MORE.


Thick, dense forest. Perfect for the base of the falls.


I only need about 4 inches so I just cut it off the top!


A primary cut established the shape of the forest against the rock and water. But its still needs more massaging.


Fussy, FUSSY cutting is necessary to give a real sense of foliage. If the print is good, there is no question where to trim and where to remove large chunks. After all, the top edge of a forest is not straight line.


When it's placed on your work is was worth all the tiny little cuts.


Now this is starting to come together as a natural and realistic scene. Time to start stitching.


Friday 18 September 2015

Adding the Water to Takakkaw Falls

It's hard to image that one square foot of chiffon, nylon or organza is what is necessary to create a full lush waterfall.
Trial and error has taught me there is no such thing as too much material.


The material manipulates best if it sits on the diagonal with widest part corresponding roughly to the widest part of the falls.

As the top is very narrow I trimmed  the upper corner into a rough rectangle.


 The edges are tucked just under the "rock" and anchored with a zigzag. I used invisible thread but a neutral would also work.

Anchor one side, then the other leaving the tops and bottoms un-sewn.


 A photo from the side shows how the chiffon balloons out from the surface, in this case almost 4 inches.

Now comes the fun part, and it's what shapes all that material into a lovely waterfall.

 Gather the excess and pin it. A line of stitches does not have to run from top to bottom. Anchoring the material with a dozen or so stitches is all that's necessary.

This way you can manipulate the material back and forth, upwards and downward to give it a natural position. It takes about 5 passes, alternating from one side to the other to tuck in all that material.


I like to take a few final passes with a pure white, or sometimes and shiny metallic. But lines seldom run the full length of the "water".


The excess at the top was all tucked in rather than cutting it away. This makes the beginning of the falls very dense and very white.


The bottom is left unfinished as it will be covered with trees and other rocks.

I usually put in the rock detail before the water, saving the best? for last, but as there is already a lot of definition in the rock by my cutting and repositioning, I'm undecided as yet how much I will add.
The shadows need to be dealt with so that will be a good measure of how much stitching will be needed to balance everything from top to bottom..

AGAIN with T-Falls

I'm always on the lookout for fresh photos or version of Takakkaw Falls in Yoho National Park. It's a very popular locale and has been a good subject for me.

HOWEVER - I made the mistake of BAKING COOKIES, by request this morning. Now all I do is traipse up and down the basement stair FOR A COOKIE every time I think I need a break.
BAD COOKIES.


(Chew Chew......)
I found this new ( for me) photo.


Its a closer view and is about 1/4 falls. I really like making the waterfalls from chiffon. So this is the version I'm after this time around.

In all the previous versions I've used what I call "cheater " fabrics to interpret the rock. But I seen to be out of Grey rock material. So I decided to make my own sedimentary rock.
Don't have grey? I'll use brown. This is interpretive art, after all.


It's still cheater fabric as apposed to my paint or dyeing. Sigh!
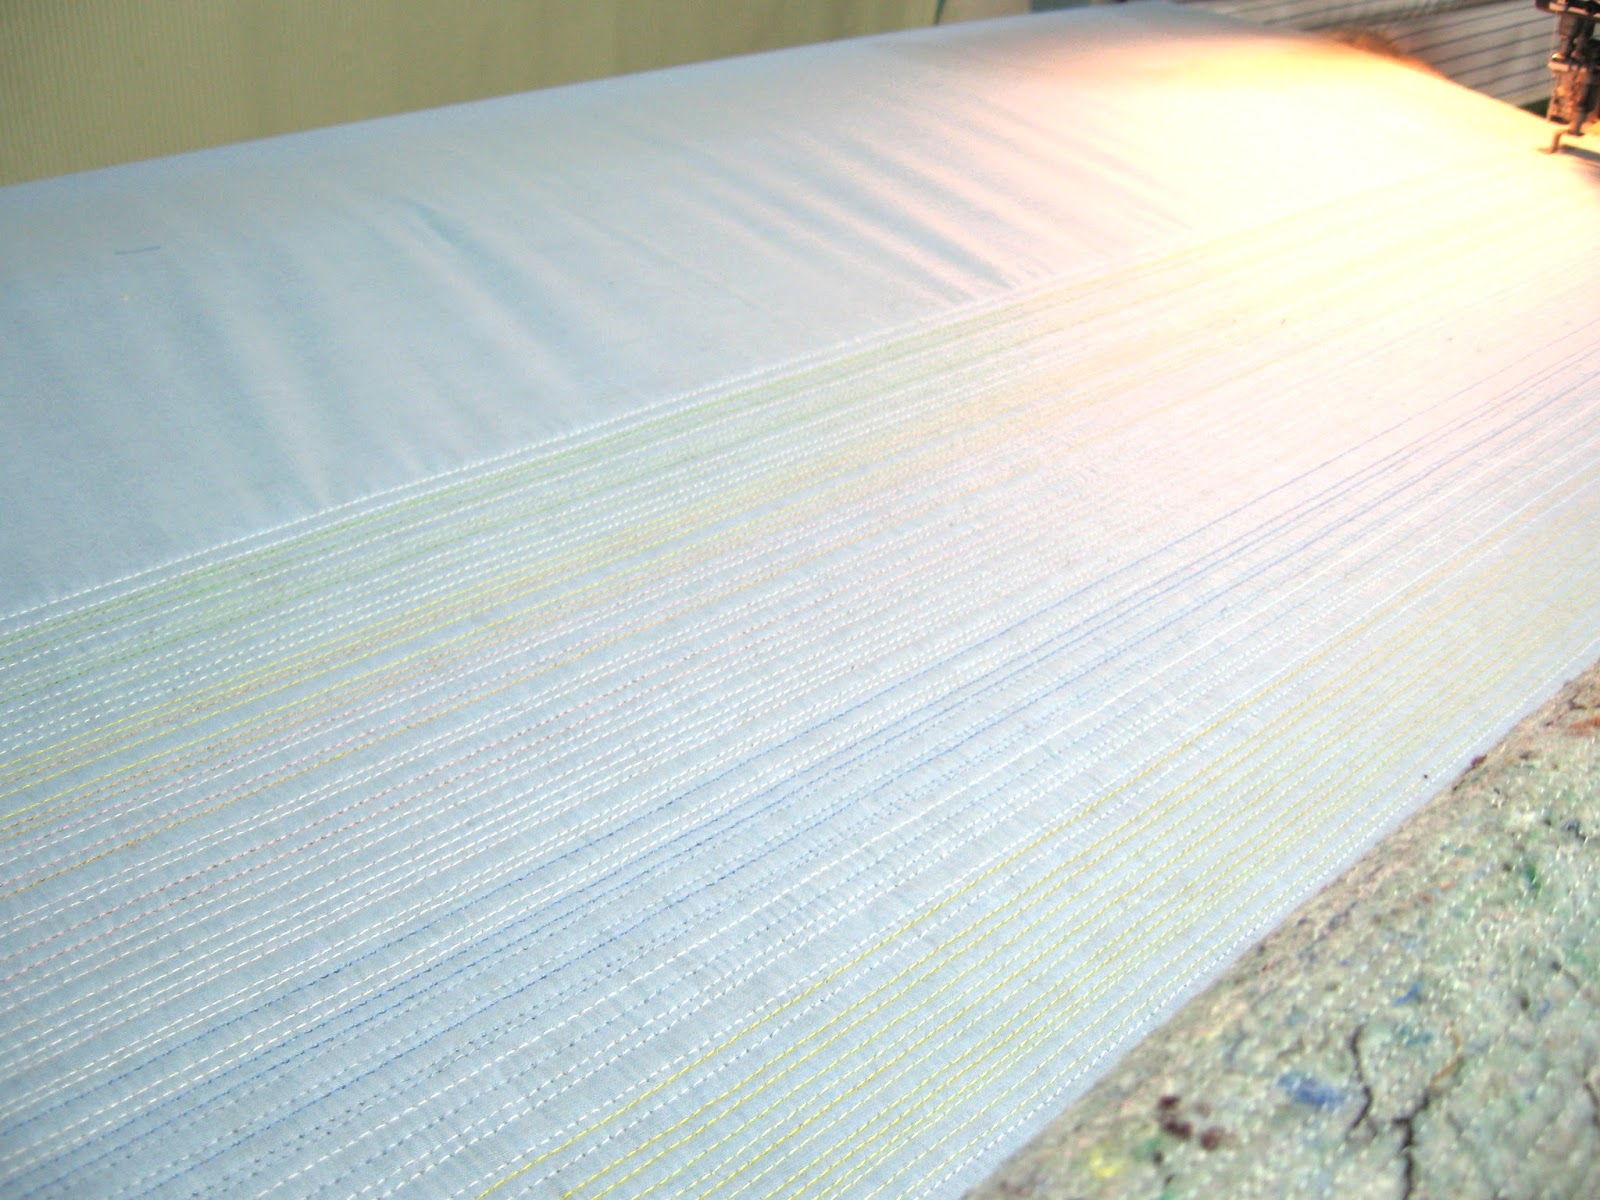
I started by cutting WOF strips in shades of brown rock.


And some green rock


till it started getting boring.
So I cut the assembled piece in half and stitched one half to the other.
That gave me a piece now about 24 inches wide.
Then I started doing the earthquake thingy and made faults or slips.


I used a narrow 1/4 inch seam and cut and restitched until the piece was down to a bout 20 inches in width.


Could be an art piece !  LOL
I think I've seen things like this in shows.. " The Colour of the Rock" ???

Now I need to split it up the middle.
Time to be brave. That's where the photo comes in as a guide.
OH LOOK!!!! Cookies!!

Before I cut into this, I ironed a piece of light fusing product on the back. These fabrics tend to fray easily and all the seam endings were going to be at risk.


I put the whole on a piece of black batting. The reason for cutting into the fabric was to create a track for the river, and to create dimension. I would have been fighting a white backing where I wanted shadow.


A sliver of the sky material marks the waterfall. A  few layers of black netting mark where major dimension changes create the shadow.
This is fused down in most places. The edges of the waterfall are still loose to allow organza to be tucked in and manipulated.


Thursday 17 September 2015

Plowing Match - Second Block

Put in the major rivers in the watershed today.
I finally figured out what was confusing me with this block. The end use is NOT about the Grand River but about the county. There is another event with an Art Show ( to which I've submitted a piece), that revolves around the influence of the Grand River.

This block is not for that,
But
I put in the river anyway!
I know I intend to finish this with vegetaton....but I'm putting it aside for now.
I've lost interest. I'll come back to it. I have a month yet.