Showing posts with label raw edged applique. Show all posts

Sunday, 5 January 2020

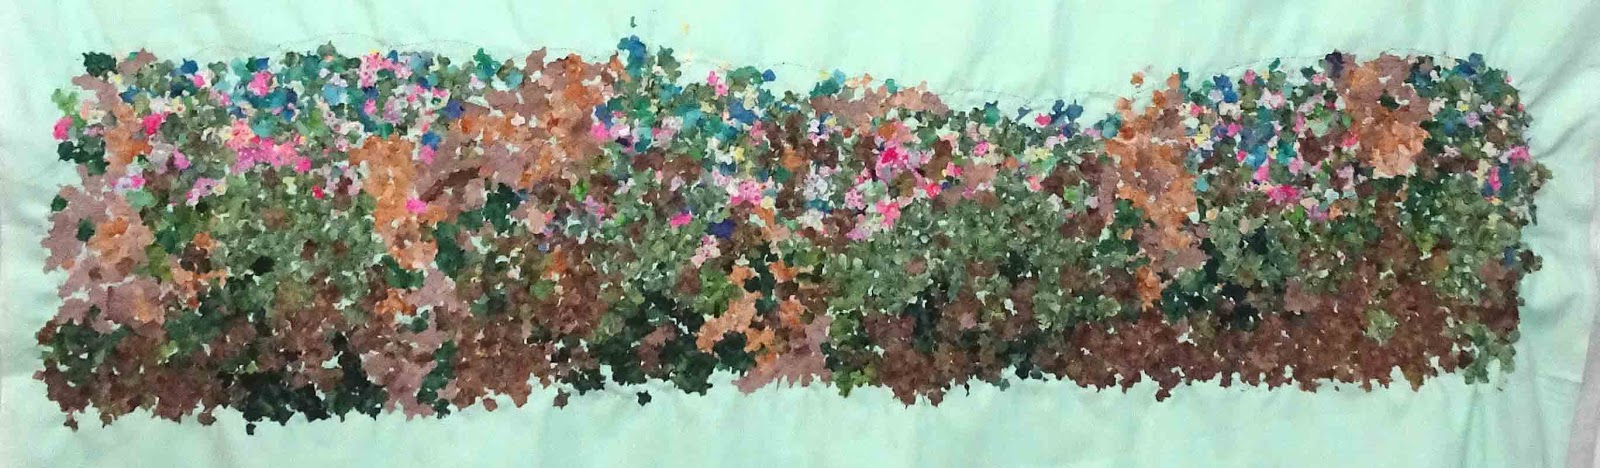
The Garden - the ground

Totally different feel here.
The colour of the flowers, leaves and stems are muted by both overshadowing and age.


The space between the two parts is undecided at this point. I'll see how the flowers develop.
Their number and size will determine the spacing (height) of the whole piece.


Tuesday, 3 December 2019

Signora - Scarf and facial features


Everything is placed and fused and the scarf has all the stitching it needs to maintain the folds as well as keep some texture.

Marking that seasoned flesh was crucial and I'll admit a kind of 'hold your breath' scary.
The face, fingers and arms have the basic lines.....the major sags and folds are lightly marked with a permanent F&P brown quilt label pen. They don't show up at there best here but they are clear enough for me to work with.

Time to add the backing.

Monday, 2 December 2019

Vecchia Signora tra le Viti


This image is another one of those that have haunted me for a long time. My original thoughts were to use the collage process but I couldn't massage it in Photoshop to my liking, or I'm still not wholly comfortable with the process. So my default method is raw applique.

Enlarging it and then tracing a cartoon and a second copy on fusible materials worked very well for the face and arms, but the head scarf was another matter.


For this I cut individual strips on the bias from a light weight poly knit. There is no distinct pattern but I hoped that there was enough interest in the design to give it some lift and texture.


 I fused a sharp fold in the material where it surrounds the face. For now the rest is pinned.
I'm sure I"m going to play with the folds for a while.


Thursday, 25 April 2019

Castle Rock - Day 8

I must have caught up on my sleep/energy because I got an early start this morning.

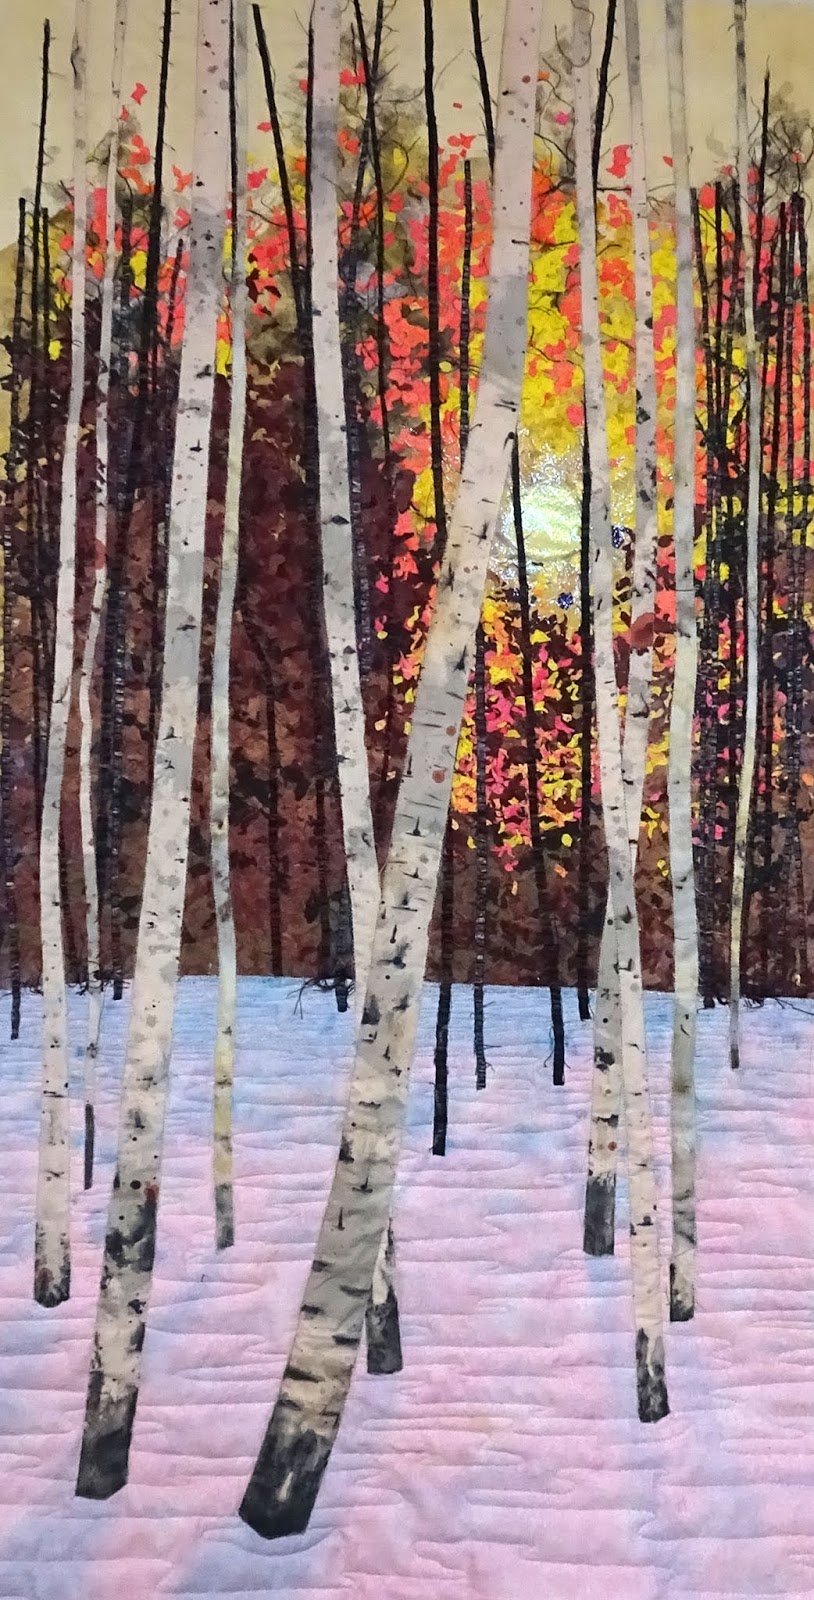
I worked on the third overlay using brighter colours to bring the sunlight into the center of the forest.
I had to shift to a larger hoop and found even though my support tulle was too small I was able to increase the size with satisfactory stability by simply pinning another piece of tulle to the edge.

So here are the steps for this morning's piece.


washed and ready to place
 Before I trim these overlays and stitch them down it's time to finalize the tree trunk structure, colour and position
.

The ones in the background are pretty straightforward. Five are locked into the three overlays of brush.

Wednesday, 24 April 2019

Castle Rock - Day 7

Another half day here, but I managed to complete the two side pieces.
Each is group (2+) of evergreens accompanied by shrubs. Different thread and fabric colours are how I'm changing the light.

The first photos are the raw work with the solvy still on. The backside give a better idea of the contructions overlays.


After it was washed, dried and cut apart, the two sides are pinned into place.


Tuesday, 16 April 2019

Castle Rock Forest - Day 5

A short day today, but I wanted to finish the colour blocking with an over lay of gauze.

My colour supply is getting low as I did little painting last summer and I had given some away at my last workshop. But what I had worked with a little bit of dipping in the dregs of my coffee.
Truly! Anything for the art. 😉
.
I re posted the bare cloth so the difference is clear. Much softer transitions. This is only glued in place and where I want to highlight the colour.....I simply cut it away.


The other thing I wanted to do was to use some of the 'shrubs' I stitched at Crieff. In hindsight, they weren't quite what I was after. So I got out my T shirt pens and then dipped them into coffee as well.
Now they blend into the background a little better.


These are stitched onto the upper left.

Saturday, 13 April 2019

Castle Rock Forest

I spent two days on this at a SAQA retreat in Crieff. It seems like I have little to show but I know how these things progress......Slowly.

I'm combining 3 images for this new forest scene. One is a ruddy forest image, and two photos. I want more colour in the piece and I want something tangible in the back ground other than fuzzy light..


Castle Rock BC
 

I spent almost a whole day assembling the Mountain that will all but disappear in the background.


Another day, the first of many assembling TREES........ and I'm on my way with this new piece.


Trees Trees Trees ......tomorrow

Friday, 5 April 2019

Polar Bear - Day 2

Not a full day here.
I stitched for a few hours (yes hours) avoiding the hard part, and then finally in the afternoon I tackled the muzzle.

The teeth make all the difference.......and he needs a nose job.


Thursday, 4 April 2019

One Last Polar Bear

Here at the end of this long winter, I think I'm, ready to embrace Spring, but there was one last imagine in my folder I wanted to work with.


I heavily cropped it to one animal.


This interesting piece of 'hombre' fabric spoke as the ice wall with a second fabric for the Ice.


This is a standard collage piece .


This is as far as I'm taking it for now, but it's looking pretty good.


Saturday, 2 March 2019

The Bear Went.........

Using a straight forward freezer paper collage, this guy came together in about 3 hours.

This is the same guy I used in the needle felted bear.


There were about 4 layers here in this photo shopped version.


Using the last of my 'shadow and pink light' on snow fabric, he fits right in, under the lights.


All that needs to be done is some thread work.


Wednesday, 23 January 2019

Mountain Tree - Final

Living on the Edge


In the end I heavily cropped this piece.
This brings the trees forward
20x40 in.

Sunday, 6 January 2019

Mountain Pine - Catching up

Christmas isn't quite over for our household yet. We have one more round of family this coming weekend.
I'm fortunate in one way that it has been so spread out this year as I spent the week after Christmas in bed with whatever illness caught up with me.
Now that I'm back on my feet, (sort of), I finished the background rocks of the Pine and today placed the first of the trees.

But I have to put it all aside again as I need to finish a present for the weekend and next week is when all 8 pieces of the CQA piece will be brought together.
So I may bounce around for the next few posts.

Here's where I ended this afternoon with our mountain scene.
The first of the trees was made of about twenty separate pieces. That's how this fellow is going to go. More work and much more waste as each branch is truly custom.


Wednesday, 19 December 2018

Mountain Pine -Day 2

I'm feeling my way through this as I haven't decided on the finish. It needs to be fully quilted before I apply the main trees, but that's still the question.


I went back today and disassembled everything down to the rock application.
All the cheesecloth/organza was stitched down.
All the batting snow was glued into place.
All the green precipice trees were glue tacked, (that's all they're going to get)


The 'snow' was reposition, trimmed and tucked under the foreground cliffs.
The tulle anchor was stitched into place along the foreground rock.
Whew!

Enough for today.

Tuesday, 18 December 2018

Mountain Pine - Day 1

Four fabrics plus white batting for the snow. A pretty simple palette really. The detail will come from the stitching.


I made a large cartoon to help with the placement of the rockfalls and ledges that are suggested in the photo. Upon close examination the ledges are all covered with trees. We'll see how much is really necessary.


I experimented yesterday layering bits of cheesecloth, tulle and organza trying to develop the foggy or hazy look from the photo. Is it snow?

Today I cut and layered, pinned only this time. After several variations I came up with this.
 

Over the background ( which was flannel, all I had) I used a combination of chessecloth and organza to replicate the colour of the cliff face on the left.
Over this, white batting was cut to suggest snow covered ledges. This was covered with a split piece of poly batting, gently pulled apart into 2 thinner layers. And finally over that, tulle anchored everything in place.

Nothing is stitched.
So I'll live with this for a few days? or not. The tulle and poly 'haze' will need to be removed in order to stitch the distant trees clinging to the mountain side.
This is definitely one of those times where the background will need to be completely finished before the tree feature is added.
Lots to think about here.
Thursday, 13 December 2018

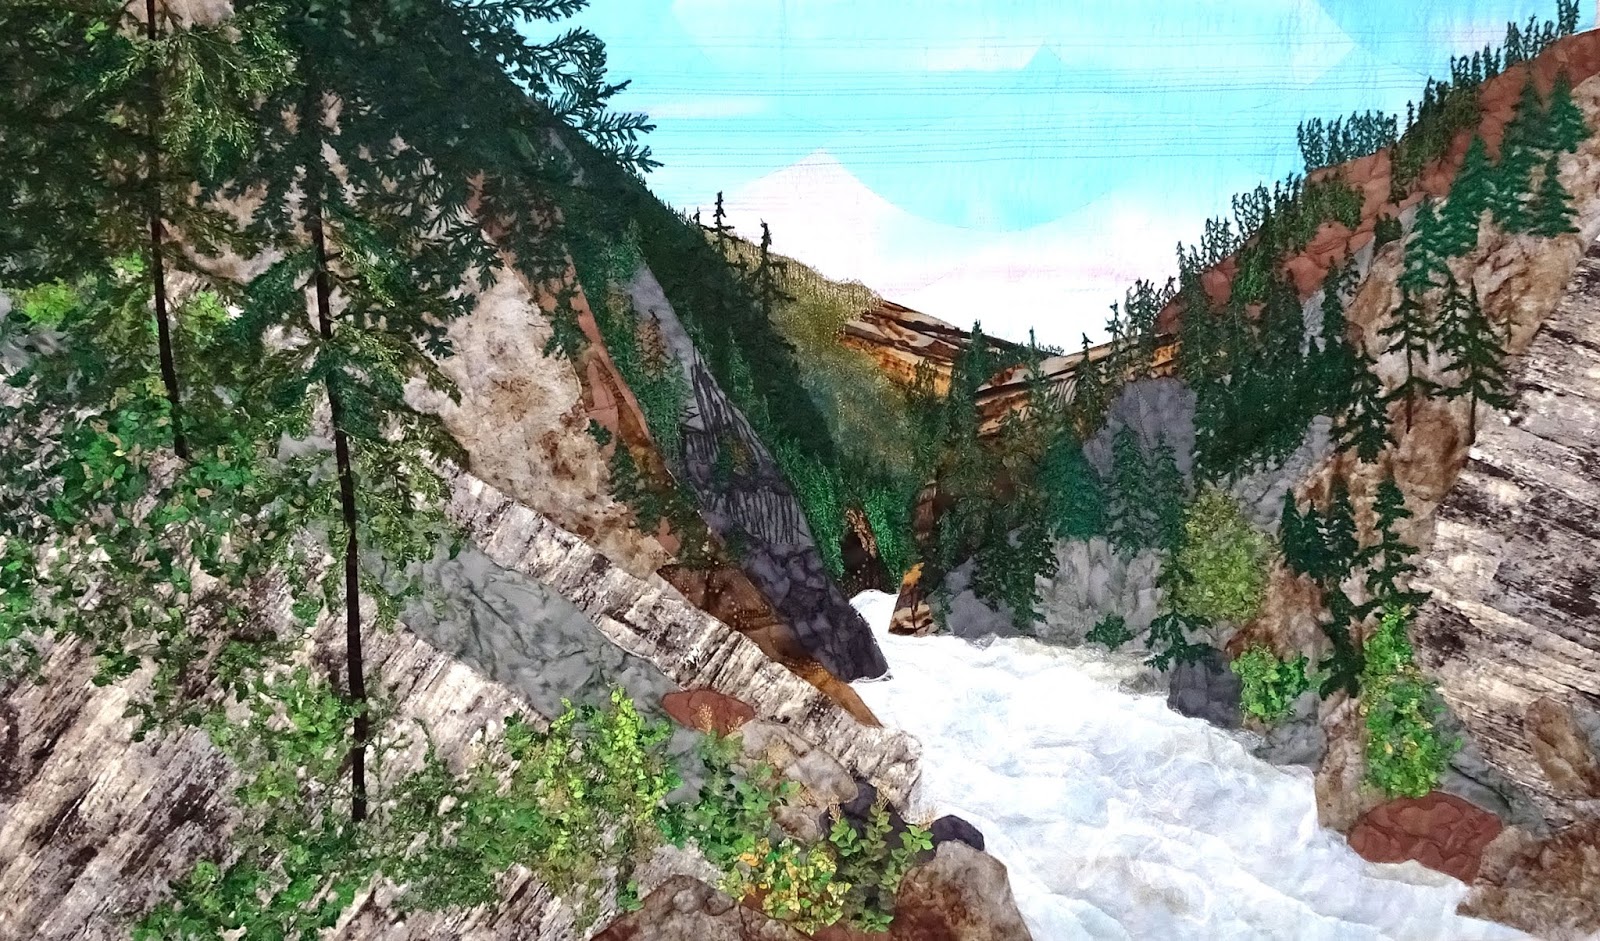
Chekamus Canyon River - Final


I worked the water this morning. (3 shades of cheesecloth plus white)
So....... for all practical purposes, this is finished.

Cropping to its best ratio and binding are all that is left.
No hurry for that.
Thanks for following along.