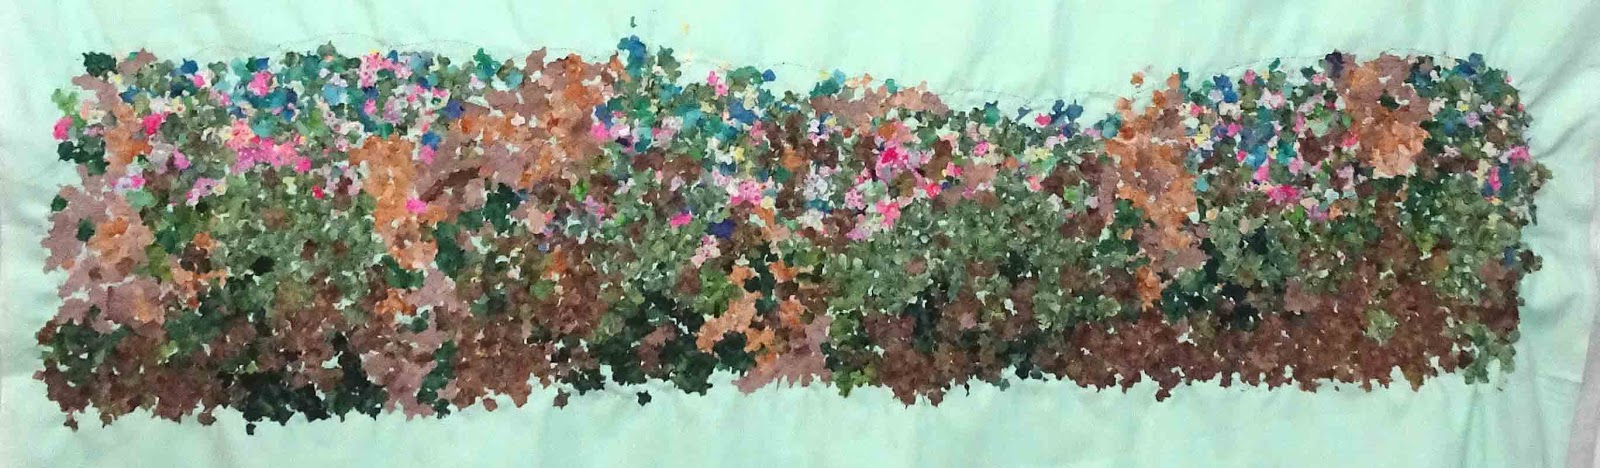
Just a little more on either side and then the bottom needs to be 'adjusted'
Showing posts with label landscape. Show all posts
Friday, 29 May 2020
Monday, 6 January 2020
The Garden - the Flowers
I'd been thinking about the flowers since I started this piece. Looking for lots of colour I was leaning towards a mix of different flowers. I played around this afternoon with paper cutouts and glue and cloth.....and decided to go with simple Poppies.
They come in so many colours and varieties.
After I played with construction styles, petals sewn or glued together,
I chose a gathered strip of cloth, a line of running stitched to pull up the fabric and a notched a curved cut on the other side.
It sounds straightforward but as I decided to use a fused fabric to add some dimension, it doesn't draw up as nicely or as easily. Here, smaller is better than bigger.
Looks good.
Now to see what other lovely material is hiding in my stash.
They come in so many colours and varieties.
After I played with construction styles, petals sewn or glued together,
I chose a gathered strip of cloth, a line of running stitched to pull up the fabric and a notched a curved cut on the other side.
It sounds straightforward but as I decided to use a fused fabric to add some dimension, it doesn't draw up as nicely or as easily. Here, smaller is better than bigger.
Looks good.
Now to see what other lovely material is hiding in my stash.
Sunday, 5 January 2020
Thursday, 5 December 2019
The Garden
I'm setting my Signora aside for a bit. I decided NOT to machine quilt the face but to hand stitch it. To do that I need to restock my thread and it will be awhile before I venture out to the store.
IN THE MEANTIME
I had fallen for a Klimt picture.
It played on my weakness for Confetti or Crumb work. I had put those techniques aside for the summer...but
As I watched the snow fall this morning I decided I could use a colour boost and caved.
What's not to love about this glowing work.
I wanted a large mix so I limited the size of the materials
And the colours dance across the background of this piece already.
IN THE MEANTIME
I had fallen for a Klimt picture.
It played on my weakness for Confetti or Crumb work. I had put those techniques aside for the summer...but
As I watched the snow fall this morning I decided I could use a colour boost and caved.
What's not to love about this glowing work.
I wanted a large mix so I limited the size of the materials
And the colours dance across the background of this piece already.
Thursday, 30 May 2019
Time to Start something New.
After finishing all my Bears this Spring, I had a lot of false starts. Now I'm ready to begin using an alternative method for the basis of the piece. Having a few quilts to finish for my friends did help to clear the mind and aided in decisions made...
I dove in this afternoon.
It's going to be landscape, with trees in Autumn. Nothing new there but I wanted something different in the way of a background other than solid fabric or colour blocking covered with confetti. So I'm taking my inspiration from this project from last year, a purse I made using a pattern from Yoko Saito.
They were run through a bias tape maker, woven together and then fused and stitched to the facing of the purse.
Same method here, but these will be primarily green.
It's also something I can stop and start at anytime.
I'm thinking this will be a big piece...3'x4'?
It will take some time.
After all it is summer.
I dove in this afternoon.
It's going to be landscape, with trees in Autumn. Nothing new there but I wanted something different in the way of a background other than solid fabric or colour blocking covered with confetti. So I'm taking my inspiration from this project from last year, a purse I made using a pattern from Yoko Saito.
The body of the design was built from strips, one inch pieces of materiel.
They were run through a bias tape maker, woven together and then fused and stitched to the facing of the purse.
Same method here, but these will be primarily green.
It's also something I can stop and start at anytime.
I'm thinking this will be a big piece...3'x4'?
It will take some time.
After all it is summer.
Tuesday, 7 May 2019
Saturday, 4 May 2019
Friday, 3 May 2019
Castle Rock - Day 15
Even I have a breaking point.
I spent several hours this morning (as well as countless hours before) making fern and bracken fronds. Then.............I hit the wall.
Enough already!
So I took six charm squares I had set aside, cut them all up and literally threw them at the bottom.
All assembled. 😁
What's next?
Before the final quilting I need to thread paint the large trees, the add fine branch work on the horizon....and a little more diddly stuff as I come to it.
See you on the other side.
I spent several hours this morning (as well as countless hours before) making fern and bracken fronds. Then.............I hit the wall.
Enough already!
So I took six charm squares I had set aside, cut them all up and literally threw them at the bottom.
All assembled. 😁
What's next?
Before the final quilting I need to thread paint the large trees, the add fine branch work on the horizon....and a little more diddly stuff as I come to it.
See you on the other side.
Wednesday, 1 May 2019
Tuesday, 30 April 2019
Sunday, 28 April 2019
Castle Rock - Day 11
Now construction has moved to the lower half and the middle ground I need to jump around. It's easier to finish a section, left, middle, right.
I added colour to all? the trees. Most are only pinned. As some would receive more direct light at different times of the day I tried to show this with colour on the boles of the tree.
The hoop stitched trees were all destined for the right side. At this point it's wasted effort to hoop construct and not know what is going to cover your work.
Tree height and planned exposure suggests the colour.
These two group sit on the right, partially in shade, under one trunk, over two and tight against another.
.
I added colour to all? the trees. Most are only pinned. As some would receive more direct light at different times of the day I tried to show this with colour on the boles of the tree.
The hoop stitched trees were all destined for the right side. At this point it's wasted effort to hoop construct and not know what is going to cover your work.
Tree height and planned exposure suggests the colour.
These two group sit on the right, partially in shade, under one trunk, over two and tight against another.
.
Saturday, 27 April 2019
Friday, 26 April 2019
Thursday, 25 April 2019
Castle Rock - Day 8
I must have caught up on my sleep/energy because I got an early start this morning.
I worked on the third overlay using brighter colours to bring the sunlight into the center of the forest.
I had to shift to a larger hoop and found even though my support tulle was too small I was able to increase the size with satisfactory stability by simply pinning another piece of tulle to the edge.
So here are the steps for this morning's piece.
Before I trim these overlays and stitch them down it's time to finalize the tree trunk structure, colour and position
.
The ones in the background are pretty straightforward. Five are locked into the three overlays of brush.
I worked on the third overlay using brighter colours to bring the sunlight into the center of the forest.
I had to shift to a larger hoop and found even though my support tulle was too small I was able to increase the size with satisfactory stability by simply pinning another piece of tulle to the edge.
So here are the steps for this morning's piece.
| washed and ready to place |
.
The ones in the background are pretty straightforward. Five are locked into the three overlays of brush.
Wednesday, 24 April 2019
Castle Rock - Day 7
Another half day here, but I managed to complete the two side pieces.
Each is group (2+) of evergreens accompanied by shrubs. Different thread and fabric colours are how I'm changing the light.
The first photos are the raw work with the solvy still on. The backside give a better idea of the contructions overlays.
After it was washed, dried and cut apart, the two sides are pinned into place.
Each is group (2+) of evergreens accompanied by shrubs. Different thread and fabric colours are how I'm changing the light.
The first photos are the raw work with the solvy still on. The backside give a better idea of the contructions overlays.
After it was washed, dried and cut apart, the two sides are pinned into place.
Subscribe to:
Posts (Atom)