Showing posts with label leaves. Show all posts

Friday, 23 August 2019

Wet Felting - That's More Like It!


A friend had sprinkled some lime green silk thread on the brown wool.
Seems a long time ago.
I liked it
I still like it.

Add a little roughage (sticks...and ginkgo......so cliche I know) and a black? background......


Saturday, 18 November 2017

New Piece - Sample

I feel like I've done confetti art to death. It was well received by the CQA judges and I'm ready to move on. I'll do more, but just not right now.
After my little venture into the collage world, (fish), I'm not quite ready to jump into a major piece.

I'm giving a show and talk next month at the Dufferin Piecemakers guild in Orangeville and a workshop in the New Year. As the ladies haven't chosen a workshop theme yet I thought I would work up some fresh pieces that would be quick to finish and still have a lot of impact. The Confetti is a choice, but I'd prefer not to go there for a one day workshop.

I photographed this piece of original art a few years ago at a local show. The colour is chunky and I thought collage might be the way to go. Just a few colours but with a major impact.


The Blue and Greens were what caught my eye. ( And the birch of course )


 Confetti method but the pieces are much larger. I started with two colours of chiffon and then moved to solids.


After a false start I went back and added the dark foreground, and then started over with the foliage.


I muddied my 'birch' fabric and added some blue paint to tie things together.
After first covering it all with netting, I changed my mind, removed the trees and used the soluble stabilizer. I wanted a cleaner look without the net. As these pieces are much larger, it isn't necessary to stitch the whole thing.


In some ways it is easier to work with. As long as your fabrics are wet-able there is no issue with removing the stabilizer at the end.


The stitching is lighter and more open. This works up faster.

Monday, 11 September 2017

First Prize Surprise

I received a call last night from a member of our Quilt guild. We had collaborated on a piece. This was over a year ago, so I was surprised when she told me she'd entered it in a local fair.. and WON. This was the Tandem class, HER quilt and my quilting and leaf embellishment.

The photo is not the best, but I remember it was a lot of fun.


Saturday, 6 May 2017

Birdie, Birdie in a Tree

I decided last night to tackle some of the birds and get them off my to-do list.
The Cardinals are the only ones in a pair.


After trimming them carefully, I auditioned them on a few backgrounds. In the end, I knew I wanted them against the sky, but not a plain blue sky, and not a cheater sky with clouds. Two minutes of staring at my shelf of hand dyed/painted FQ, one caught my eye.


(It hasn't been there that long but it was the devil to iron all the creases out. Perhaps the paint increases the sharpness of the fold?)

After making a "branch" from twisted wool, I auditioned several positions for these two. As silly as it seems the concept of dominance crept into my head. Is the position on the branch purposeful? or chance? ( Too much time reading about political correctness.)

Male Cardinal's head is obscured


Too much space between them

Too crowded

JUST RIGHT!

In the end I'm going with the one I like..... this last one!

1:30 pm

Couching the branch was quick. I straighten it a bit as the "corkscrew hazel" look was too unnatural looking.


I decided to go with a Spring theme, the buds just bursting. It took me a while to decide how to add that touch of red that most trees show when they are first coming alive. A little piece of maroon cheesecloth did the trick.


Small triangles of green fabric rolled and tucked into the stem gave me bursting buds.


A small piece of batting behind each bird, rounds their bellies a bit. Stitching them down will be the last thing I do today.


Tuesday, 18 April 2017

Birch Trees - Background Complete

This is assembled, netted and pinned. It will take a few days to stitch.

Part of me says I COULD stop here.
I'll have to think about it.
Here's where it started
Here it is today
 The softening of the harsh lines is done by the strategic placement of colour ON those boundaries. The rest is filler to blend the patterns in the original cloth.


Monday, 17 April 2017

BT - V2 - Day 3

Not a very productive day, a lot of running around.
I finally got to the worktable around 2 and decided the best place to play today was with the brush line at the base of the trees.
Before I left the house this morning I "dip" painted some cotton twine and hung it to dry. When I returned I was then able to cut it into "brush" length and clumped the pieces at the base of the trees.


Lots of scattering of darker colours, shadow shades ( or at least that's the idea) primarily in the shrub line but some in the crowns of the trees.


Tuesday, 4 April 2017

Leaves Final

In the end I didn't place all the cut outs. Finishing with cording for the branches and then more satin stitch for the leaf stems, this is ready for binding.


Monday, 3 April 2017

Leaves

Nice colour for a cold and dreary day.
Almost there, just a few more. I knew I was getting tired so when the bobbin ran out, I took it as a sign.
Enough for today.


Sunday, 2 April 2017

Leaves For 150th

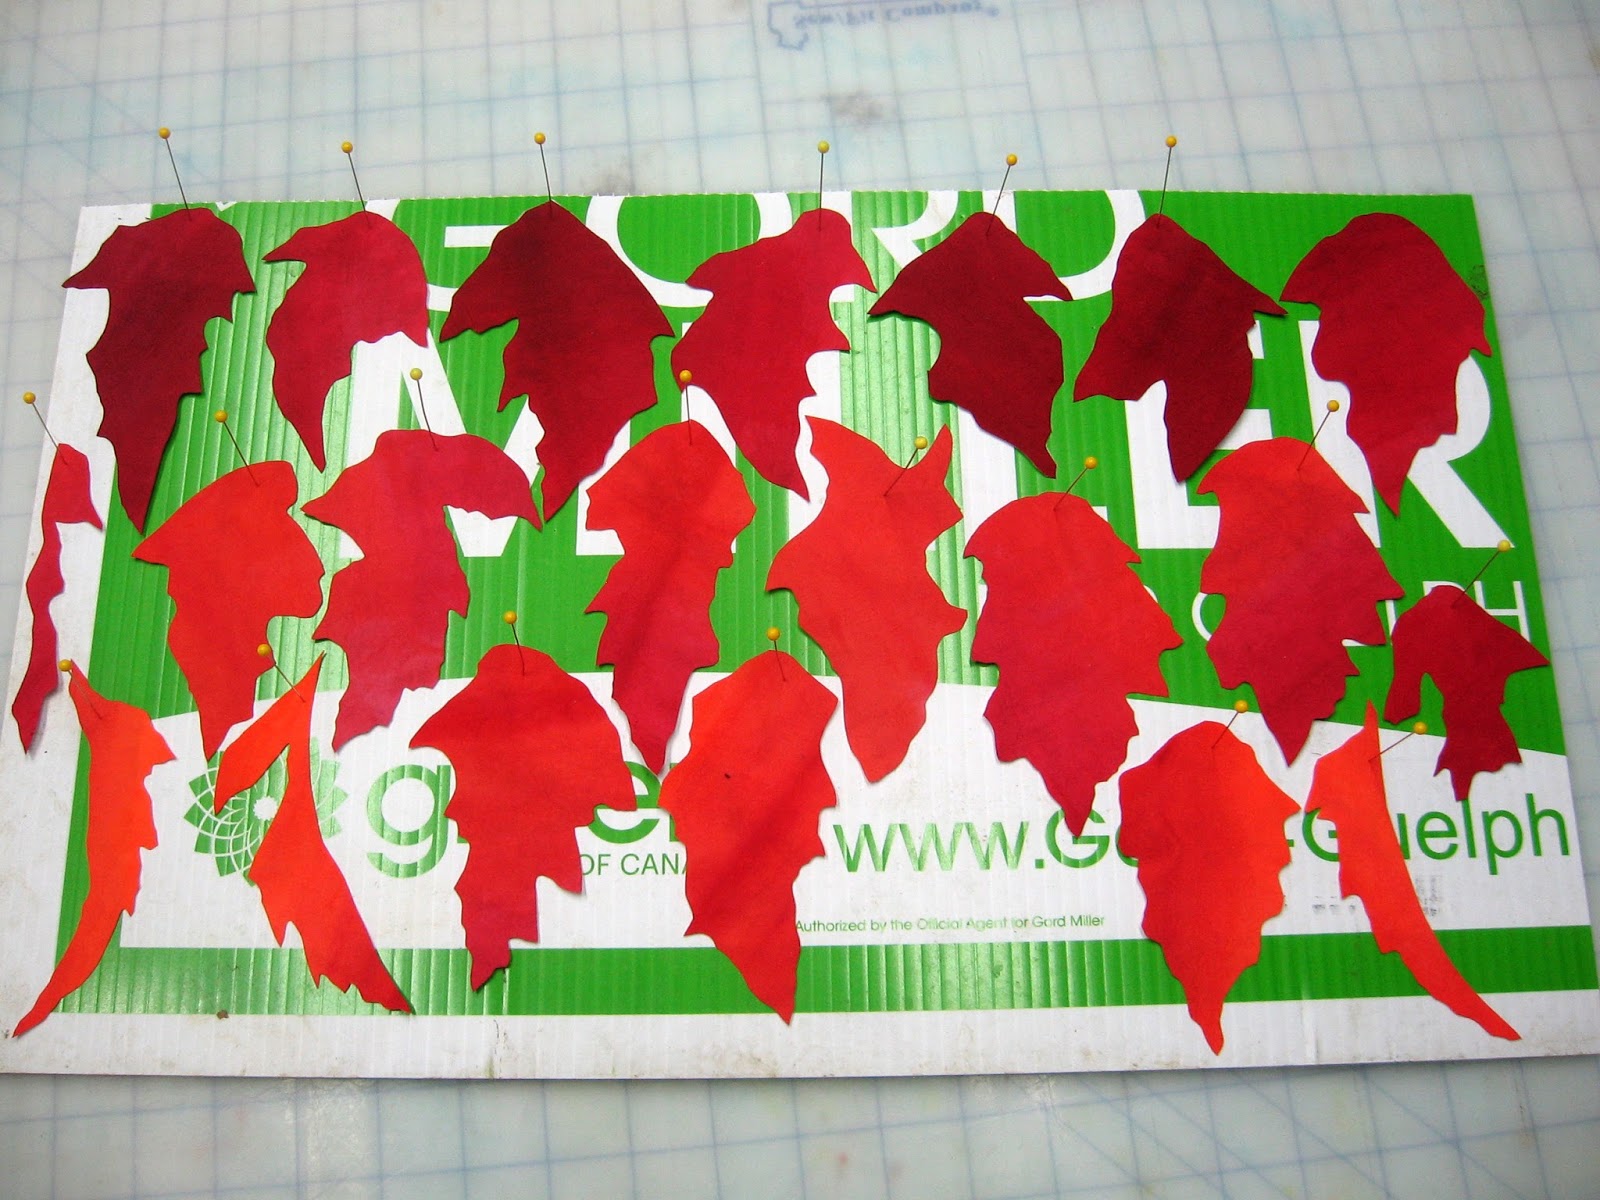
I intend to do a number of "maple" themed pieces for Canada's 150th Anniversary this summer.
This is my first 'playtime'.
Using the material I had intended for something 'fire' I decided after the Ft. Mac fire last summer it was a bit inappropriate at this time so I cut out some maple leaves.
These are not 'full frontal'. Leaves hang and fold so this is a first attempt to make it a little more true to life.


After cutting out the leaf shapes I decided to "tart" them up a bit more as their colours are never smooth.


The background was another of last summer's cloths. This one was dyed with the walnuts (I stole from the squirrels). Starting with a 40 inch width, I cut gentle curves and restitched. The width is now down to less that 30 inches between the cutting waste and the rough 1/4 inch seam allowance.


Now I have to wait for the paint to dry!

The background was given batting and backing and all the strips were SID. The dried leaves were placed on trial.
Tomorrow I'll play. They need detail and veins as well as a satin stitch finish, and twigs of course. More than enough for another day's work.


Friday, 13 January 2017

Summer - Day 3

I started the day doing what I should have done from the start. I cut this piece in two. I thought about but didn't act until it was time to stitch. The smaller piece makes everything more secure and easier to handle.

I inserted a small triangular piece at the left to taper the dark area under the netting. Then I stitched. That took about 3 hours.
Beginning again, I added 20 slivers of cloth for the birch boles .
More "leaves" and more (trees) threads and cord. It's important to work right to the edges, even if you end up cutting it down.

To finish the day, another layer under tulle.


Wednesday, 21 September 2016

Autumn Birch - Day 1

After I spent the morning gardening, escorting hubby to Costco, (reining him in) and then cooking super (it has to simmer all day- Chili), I finally got down to the basement to start.
This is always daunting and the best way is to dive in. The worst thing that can happen is you waste some material.
These first few steps show BIG changes so enjoy. When I move to the minutiae some days it's hard to notice where I spent the 3 hours.


This piece will probably finish at 3ft x 2ft so I cut a piece of inter facing about 6 inches bigger all around. With a black marker I drew the registration lines I need to differentiate the regions of changing plant materials. Even when the lines are covered they show on the reverse as a reference......if you lose your way in the forest?


First a light coat of Krylon adhesive. ( I don't usually use it in such a large manner but there are a lot of pieces going down that I don't want to think about after they are placed.)

Over a pale yellow cloth of waste or cheap material ( another application of Krylon) I placed mosaic cuts of two materials. Squares were cut and stacked and after cutting, the colours were shuffled to aid with a random affect.

Strips of blue roughly filled the spaces. This is already looking rather abstract or modern......I've seen worse. I've certainly done worse. LOL


Next another light coat of spray.
From orange nylon random shapes were cut. I used nlyon because I generally dislike the feel and with this it will be completely buried. And I want to get rid of what I have. It adds a softening effect to the colours and blurs the edges.


Even the scraps are called into play here.


And last, a section of green nylon and a band of lime green cloth.
So the regions are roughly defined. (And glued down.)
Here I'm going to break from my usual pattern.
I've thought about this a lot and instead of starting at the top, which is usually the distant background, I'm going to start with the mid-ground area. The crowns of the trees are so full only the foreground is visible in this scene.

Tuesday, 20 September 2016

Autumn Birch - New Work

So the deck is cleared.
After making the birch fabric AND baking and freezing a couple of apple strudel, I can spend the next few days getting this guy off the drawing board.


What I love about this is the riot of intense yet soft colour. There is just enough orange and red to keep it alive and the green at the bottom grounds the whole thing. This will be fun.

I went thru my fabric this afternoon and hauled out most of the yellow. When I see them next to the picture I can see I might not have enough gold.


The four pieces at the back are painted. The drawback to those, is, if I use them as foliage, each leaf needs to be singly placed with tweezers. The grouping at the bottom are either dyed or commercial cloth with a good colouring thru and on the back. Using these as foliage is a simple a sprinkling confetti!
A neutral beige will suffice for the base.

So lots to do.
AND when I get stumped.....I have another quilt on the frame.


Thursday, 28 July 2016

Image Transfer - Part DUH

I wasn't finished yesterday.
Until I could transfer leaf shapes, it wasn't finished.
I thought maybe the elm leaves were too tough, but then I realized there just wasn't enough contact for the pigments to move.

So I tried my old friend "Flower Pounding"

Success!
And the light in this photo is different. It's more natural, not my basement florescents.
These are from the red Japanese maple in my yard. Some have oxidized to black immediately.
I don't know whether there is enough Alum in the cloth from yesterdays' cooking to fix the red, or whether the black is a reaction with the iron. There is lot of room here for playing and learning.


I'd like the background to be a warmer colour. I'll have to experiment with different dyed cloths or over dying or painting.
As for finishing this one?...........
I have just the material!

.