Saturday, 24 September 2016

Autumn Birch - Day 4

I decided last night IT WAS TIME to place the birch trees.
After a BRISK walk (my, the weather has changed) and a cup of coffee to warm my hands (and procrastinate making decisions), I doctored a piece of birch fabric for some shaded "dirty" looking specimens and cut up the remaining 4 old strips into trees of various girth.
Placing them was another matter.
After about half an hour of back and forth, this is where I left it.

I'm not happy......yet.

2:00 pm
The bottom of this piece was bothering me. The bright yellow was a little over powering, so I considered reducing it in size. At the base of the trees (still only pinned), I used a combination of wool roving, thread snips, and cheesecloth to move the ground forward.


I think how much yellow I retain is going to be a gut thing. I'll know where to cut it off.
In the mean time I stitched down ALL the trees.


I like the balance better now with more weight at the bottom.

Friday, 23 September 2016

Autumn Birch - Day 3 - Finishing the Middle Background

I got a very early start this morning.

After hand pressing the entire surface of the piece I slowly and gently pulled the netting off the top half. Remember this is a tacking medium, not a glue. Does it dry? Eventually.


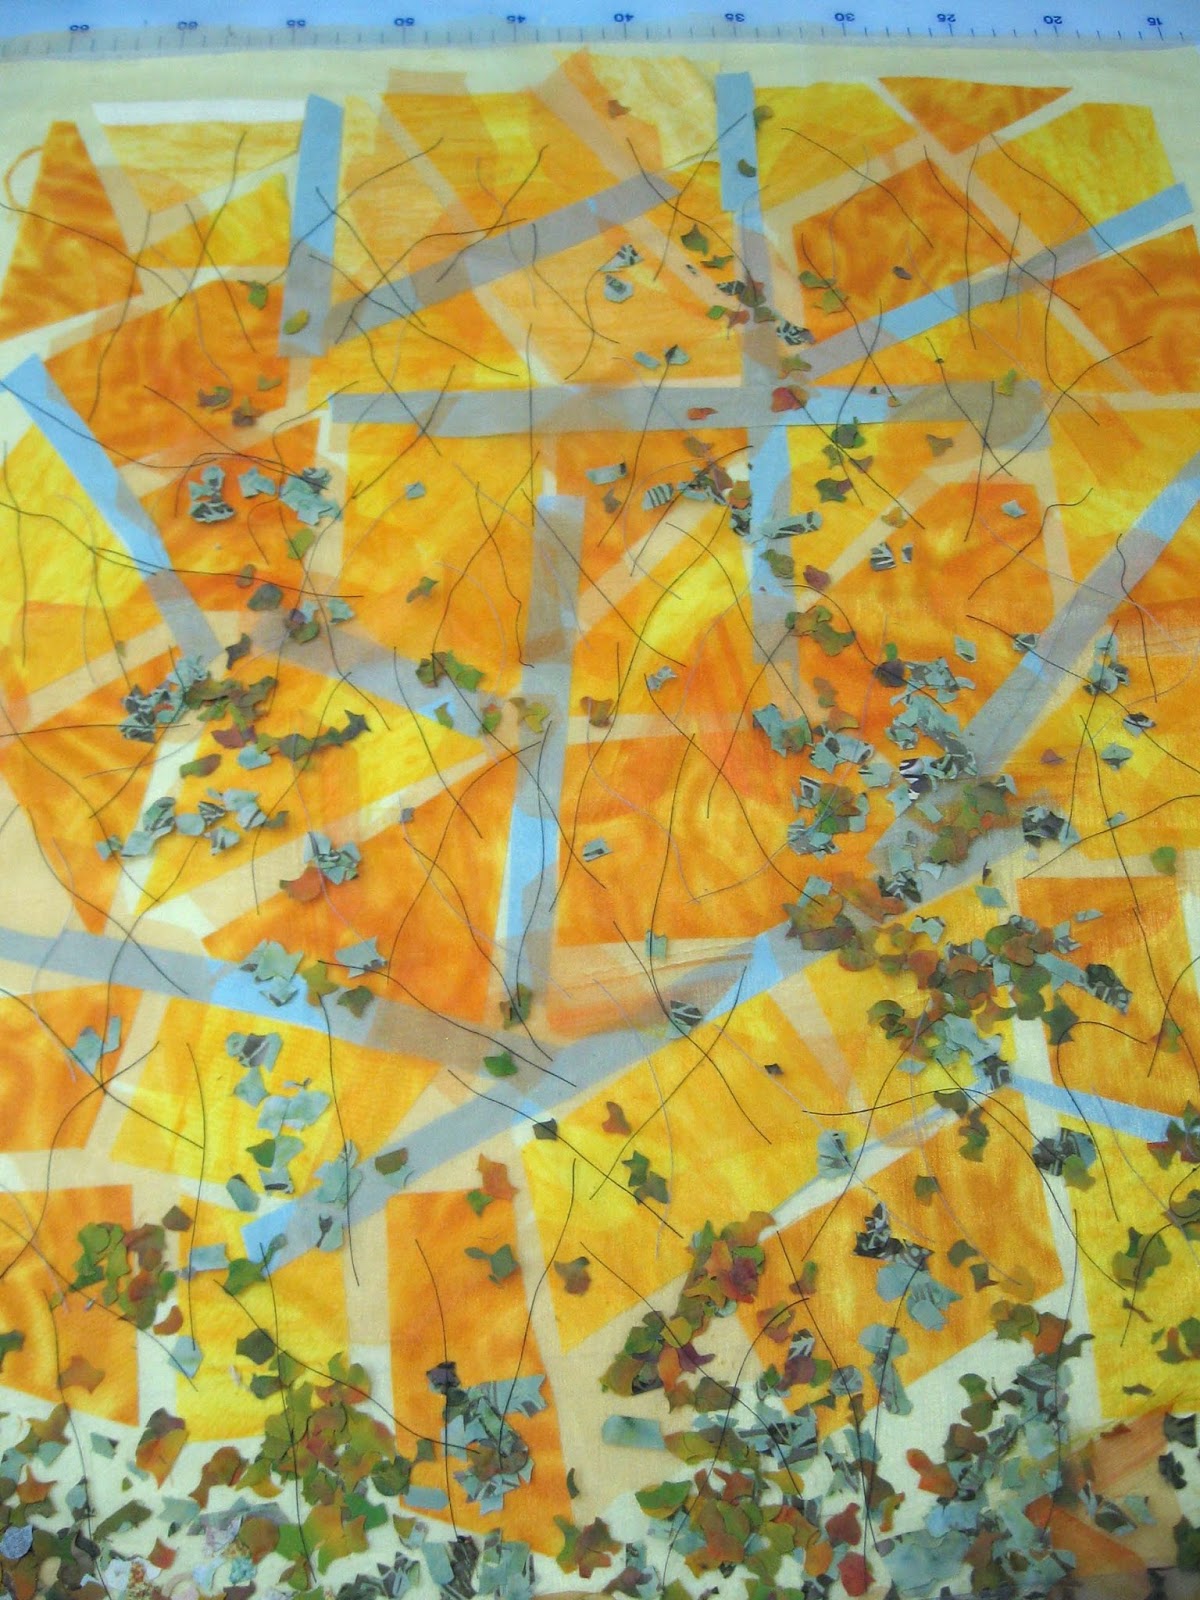
Over the background I placed about 10 metres of black and grey thread cut to 2 to3 inch lengths.
These are the fine branches in the crown. I tried spraying them with the krylon on parchment paper but that was rather ungainly as they stuck to me and my tweezers. The next batch I simply laid them in place. I'll add more, later.


After cutting up a "plateful" of pale green and yellow I sprinkled this over the surface.


A light spray and the netting was pulled back up and over. Everything was finger pressed again.

Up on the wall I added trees, some paper cuts, to try placement and number.


MY GOODNESS. It's only 10:30.......... time for another coffee.
Check back later. I will have added more.

3:00 PM
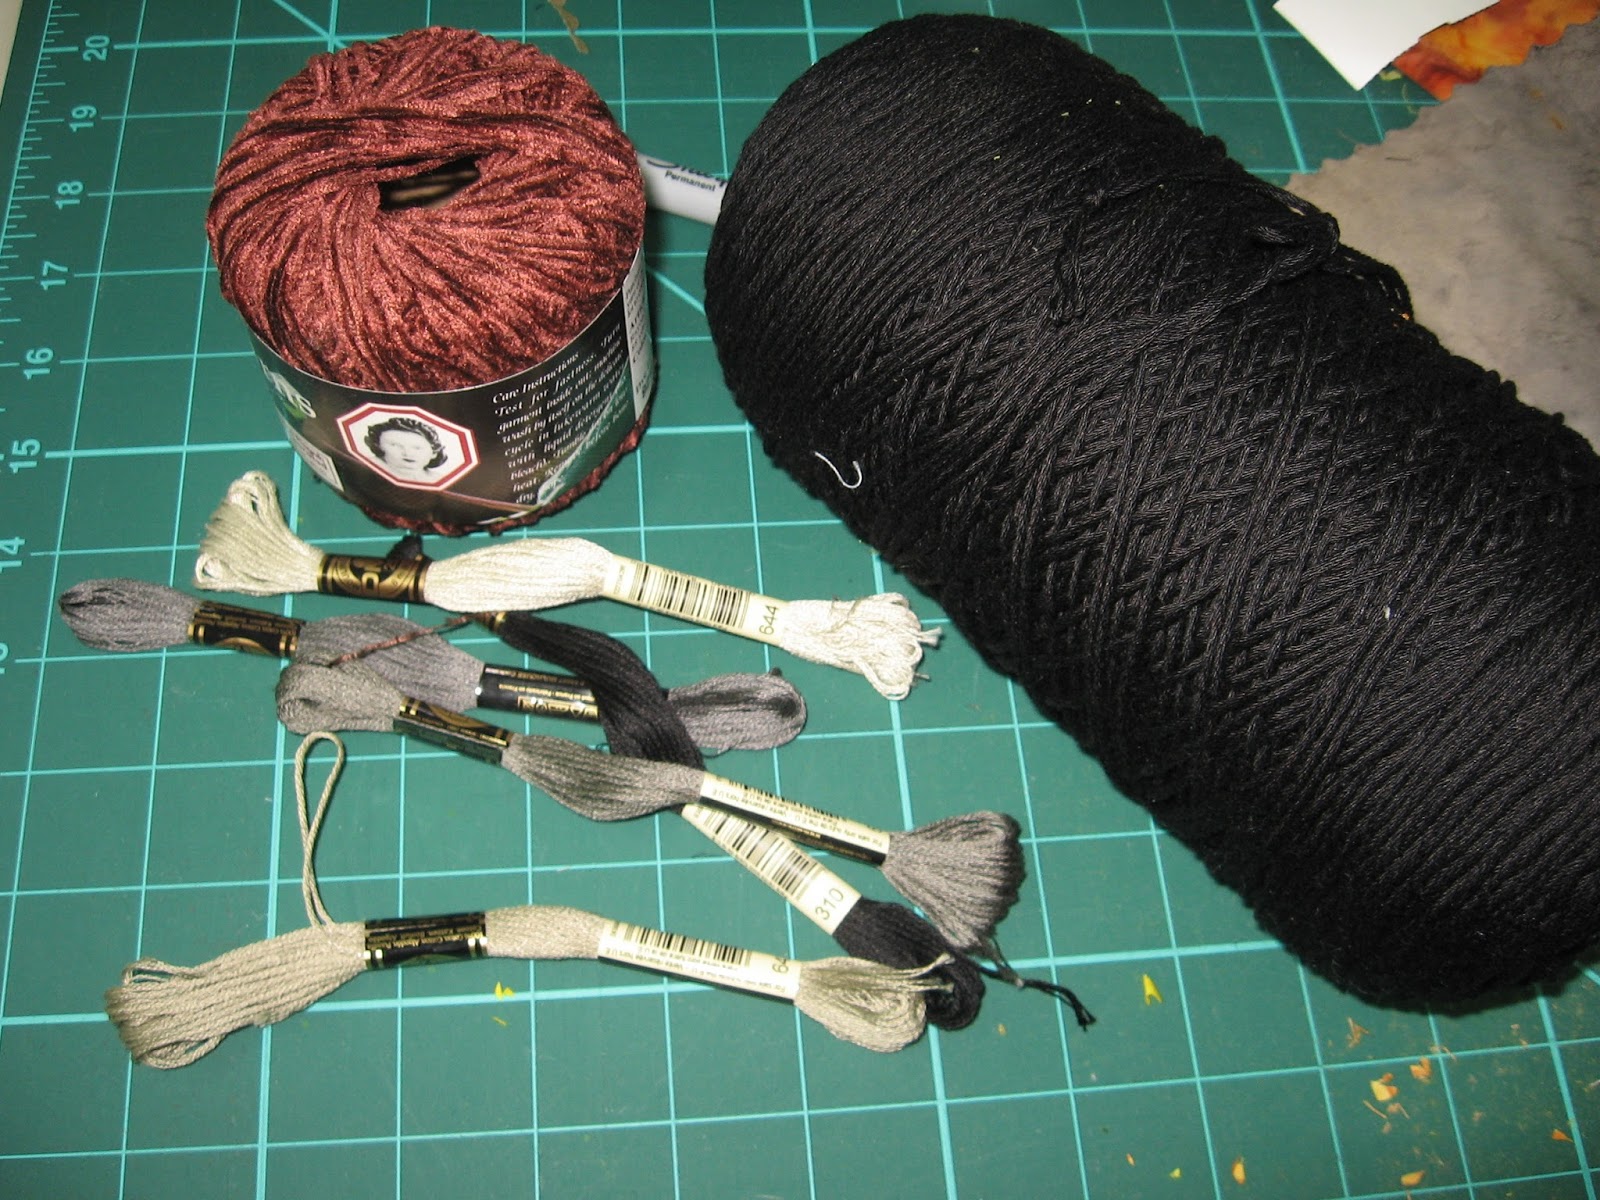
I popped out and picked up a few things I thought would work well as the fine branches.


The embroidery thread, using all strands, works well. The cut ends were lightly sealed with glue. The other two are 3 and 4 stranded polys. I may not use them with this piece but I know they will come in handy.


I cut another bundle of bits and sprinkled them, this time very deliberate about the colour placement. This time NO spray. This application went OVER the netting. The layers of fabric are getting thicker now so it needs to be stitched.
I applied a second layer of netting. This I pinned heavily and then rolled it to facilitate handling in the machine. For the most part, nothing moves when it's rolled.


Some music on the laptop with an insistent rhythm, a stop for coffee when the bobbin ran out...this took about 2 hours to stitch down. I only stitched over the NEW colours. Tight stitches in a leaf pattern hold it very secure. Excess netting was cut away.


So the middle is finished. Now I can work on the birch trees themselves.

Thursday, 22 September 2016

Autumn Birch - Day 2 - working on the centre background

It's important to start in the centre as this is the area into which you can see the farthest. The crowns are too bushy and full and the bottom is grass.


I left off yesterday with patchwork and colour block. The ruffled orange nylon is where I'm going to concentrate today.

I want dark olive at the very back. I liked this scrap but its a commercial fabric so it only has colour on one side.


I use a pinking rotary cutter and make pieces about 1 cm or less in size. A light spray of krylon to the elevated loops of the nylon and the piece are placed one by one with tweezers.


The rest of the fabric I used today was batik. That really speeds up this process.


Two more shades of olive and light brown.


Some of the pieces are sprinkled up into the crown. There needs to be some shadow within.


I keep a box of left over snippets and a light sprinkling with these came next. A lot were one sided commercial but contrast of colour was what was needed here.


Then this FQ. I used about half. I gave a light spray before I applied this, and it was literately tossed onto the surface to fall relatively freely. Then I gave the whole piece another light spray.


At this point, I applied a layer of netting over the whole piece. This flattened out all the materials and made the surface uniform. Between the glue and the net, I doubt anything will shift or escape.
So far no stitching.
Time today, one hour.

After a break of quilting the donation quilt on my frame I went back in. This time to finish the green.


As two of these were batik, it went very quickly. The foreground can wait.


It's time to start thinking about the placement of the trees.


Wednesday, 21 September 2016

Autumn Birch - Day 1

After I spent the morning gardening, escorting hubby to Costco, (reining him in) and then cooking super (it has to simmer all day- Chili), I finally got down to the basement to start.
This is always daunting and the best way is to dive in. The worst thing that can happen is you waste some material.
These first few steps show BIG changes so enjoy. When I move to the minutiae some days it's hard to notice where I spent the 3 hours.


This piece will probably finish at 3ft x 2ft so I cut a piece of inter facing about 6 inches bigger all around. With a black marker I drew the registration lines I need to differentiate the regions of changing plant materials. Even when the lines are covered they show on the reverse as a reference......if you lose your way in the forest?


First a light coat of Krylon adhesive. ( I don't usually use it in such a large manner but there are a lot of pieces going down that I don't want to think about after they are placed.)

Over a pale yellow cloth of waste or cheap material ( another application of Krylon) I placed mosaic cuts of two materials. Squares were cut and stacked and after cutting, the colours were shuffled to aid with a random affect.

Strips of blue roughly filled the spaces. This is already looking rather abstract or modern......I've seen worse. I've certainly done worse. LOL


Next another light coat of spray.
From orange nylon random shapes were cut. I used nlyon because I generally dislike the feel and with this it will be completely buried. And I want to get rid of what I have. It adds a softening effect to the colours and blurs the edges.


Even the scraps are called into play here.


And last, a section of green nylon and a band of lime green cloth.
So the regions are roughly defined. (And glued down.)
Here I'm going to break from my usual pattern.
I've thought about this a lot and instead of starting at the top, which is usually the distant background, I'm going to start with the mid-ground area. The crowns of the trees are so full only the foreground is visible in this scene.

Tuesday, 20 September 2016

Autumn Birch - New Work

So the deck is cleared.
After making the birch fabric AND baking and freezing a couple of apple strudel, I can spend the next few days getting this guy off the drawing board.


What I love about this is the riot of intense yet soft colour. There is just enough orange and red to keep it alive and the green at the bottom grounds the whole thing. This will be fun.

I went thru my fabric this afternoon and hauled out most of the yellow. When I see them next to the picture I can see I might not have enough gold.


The four pieces at the back are painted. The drawback to those, is, if I use them as foliage, each leaf needs to be singly placed with tweezers. The grouping at the bottom are either dyed or commercial cloth with a good colouring thru and on the back. Using these as foliage is a simple a sprinkling confetti!
A neutral beige will suffice for the base.

So lots to do.
AND when I get stumped.....I have another quilt on the frame.