Friday, 14 August 2015

Trees Workshop - Silhouettes

Today I did a little work on the silhouette of 6 common N. AM.conifers.

While I don't suppose it matters to many, I like to be sure I'm representing the correct flora when I do a regional piece. As most of my work reflects B.C. I like to get it right.
A lot of trees appear similar while young, from a distance. So in the long run it really doesn't matter.

But it's nice to have a variation in forms.
These samples are meant to be horizon images. Their foliage is a little thin to simplify the differences in shape and branch structures.

One side is finished with a second pass in a different shade of green. The other side shows the branch foundation with some darker stitches which are meant to be ALMOST concealed with a second green.
These trees were drawn onto the material and stitched over.

These also deal with some minor distortion. Most of it can be ironed or quilted out. They're done with minimal stabilizer and blocked with stretching and steam. You need to learn why the material distorts and how to minimize that as well.

So many things at once.


Looking at the six together, it's clear they all have different growth patterns.

From the left top: Lodge Pole Pine
                             Black spruce
                             White pine
Bottom left : Juniper sp.
                     White Spruce
                      Norway Spruce


The left side of these three are unfinished. You can see the pen markings and the first pass with a darker green. This is meant to be the under layer.

 No tree is one colour.

All these samples are very open. They should have several more passes and crossing branches to make them REAL.

And of course there are many more varieties.
Most people don't really look at trees, either in summer or winter.

The shape, the texture, the bark colour all help to define the tree.
When you know what it really looks like, then you can throw the rules out the window and be confident that your variation will be great.


Tuesday, 11 August 2015

Trees - A Workshop - EVERGREENS

I've been a bit rudderless this last month helping my I.T. guy and soulmate navigate the medical system. He experienced a cardiac event early last month and its been a bit of a roller coaster ride in our household.

Medical appointments are keeping me unfocused. I chose to stay home and forgo what had been becoming a yearly retreat with my quilting friends in Algonquin Park each late summer. The cat quilt went to an RN friend who has been helping hubby cope with the uncertainty of all this.

I've been trying to focus on some new art. It's not going well.

But it was proposed that I give a TREE workshop to some of my friends in September. The prospect is rather exciting so I'm now trying to focus on that. The art will happen when it happens.

I decided to make some samples that people can examine. Putting them on stark white allows the technique and the stitching to be highlighted.
(Sorry I can't rotate the picture....nasty Windows 10..  I'll remember when I take more pictures.)


I decided to start with Evergreens.
The first thing I assembled was a sampling of raw applique and some "cheater fabric" use.


The next piece is a composite. Half this "typical "evergreen is stitched with free motion and half with a zigzag stitch. They both have merits.


And this last "page" is an selection of tiny landscape application. None of these trees are over an inch in height. The trees get slightly larger as they move forward and more detail is necessary.


A few more "tiny" ones.
This first one at the far left is simply ragged stitches moving in an irregular pattern, ie. no pattern with a general idea of evergreen shape. Omly the "point" defines the shape. This gives a more open appearance.
The one on the right is stitched in a similar motion over a fragment of needle felted wool.


Also on the same sample page, continuing along the "hill", on the far right, a thin piece of green material was placed along the line and trees stitched over. Again, it's really only the tips of the trees that are important here. This can be very loose and minimal. Underneath that line, loose irregular trees are stitched in two colours. They are spaced further apart and the different colours are stitched between. This adds more character and depth.


Window's 10.......... I'm Dead in the water!

He warned me .......sort of.
I installed this "gift" and it's holding me hostage.
I have yet to figure out .......anything!
Settings, security, access......!

I can't massage any pictures in photo shop ...BECAUSE I DON"T HAVE AUTHORITY !


sigh!

and my I.T. guy (who secretly grinning,)  just doesn't have the energy right now...............


But WAIT... I can still direct access my Canon
Whew.....sort of....

So here's what I'm doing.......off and on.
My sister asked me to quilt another of my mother's bed sheets. She been deceased almost 20 years.
( I'm still trying to wrap my head around the things my sister chose to keep.)
Finding a backing for this sheet had been an on going issue for a few months. This is spectacularly Floral


She had dismissed batik out of hand but after a few months I decided to go with it anyway. This was an economic buy from Connecting Threads. The colours are almost right.  A little heavy on the pink, but the blue and gold are about the same weight in both.


Then I had to decide how to quilt this. I considered an all over, totally independent pattern. In the end I've started TRACING the motifs. This gives an copy of the pattern on the backside.

This is going to take A LONG TIME.
I'll keep you posted.

Wednesday, 5 August 2015

Siamese Cat Quilt - Final

 
The hold up on finishing this was finding black batting. I ended up paying the full ticket at a local store rather than wait a week to order it on line from the states (and spending more getting the price break.)
Someone had suggest quilting in some mice, but I didn't think they would be entirely appropriate for the intended recipient.


But I put them in the quilting and as I used mono-filament on the top and cotton thread on the bottom they can only be found from the backside. Barely there!


The cats were shadow quilted twice only. I had placed a bit of batting behind them during construction so they had some additional dimension when the quilting was finished. Photographing that lift was tricky but I think I caught a bit with my camera.
And I finished their eyes and whiskers.


This type of fill remains exciting because it changes every few inches.


The bulk of the quilting was the dimensional meandering, back and forth then up and down. The cats were surrounded with bubbles that drift out into the main quilting.


The label sat under one of the cats so the intrusive quilting was minimal.


A simple black binding and this will be in the mail!

Sunday, 2 August 2015

Backing for the Cat Quilt

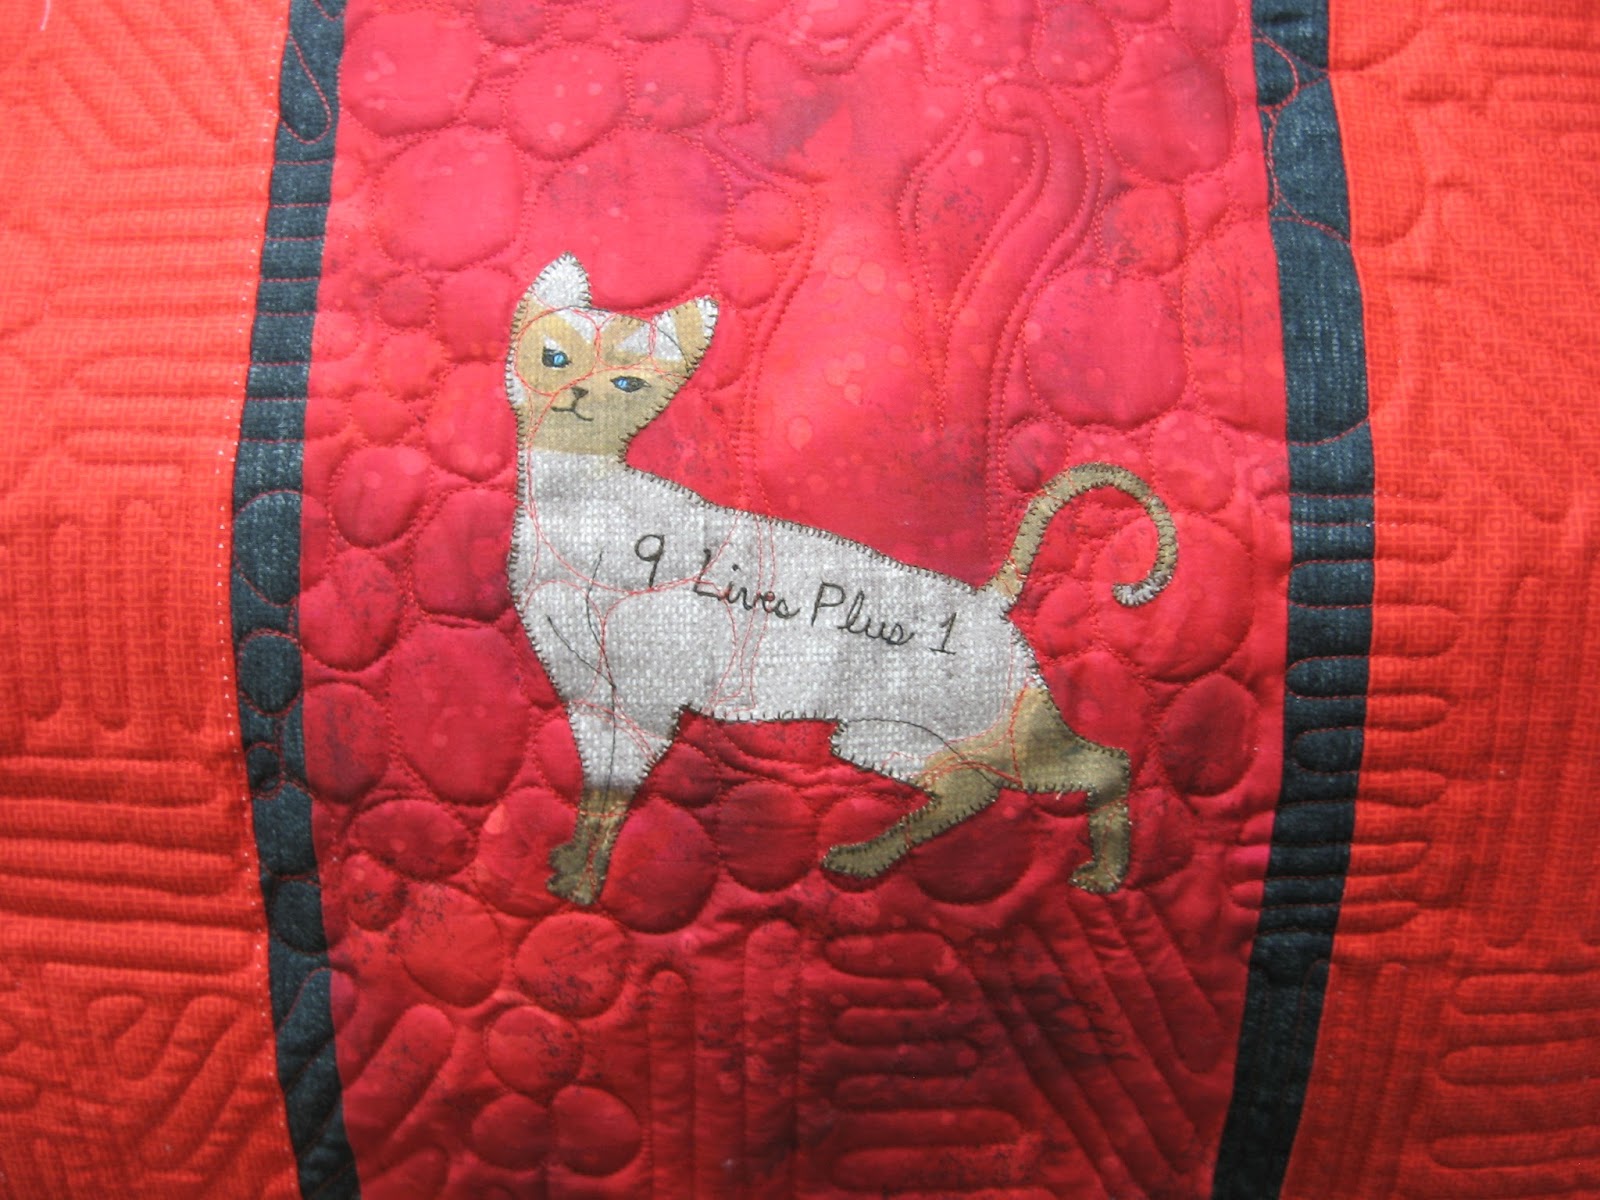
In keeping with using up material in my stash, I pieced together a backing with an unused red fabric. It wasn't quite big enough, so I stretched it with one of the reds from the front and.....the 10th Cat.

All set now to finish this one tomorrow.


I guess I'll have to call this quilt " 9 Lives plus 1 "